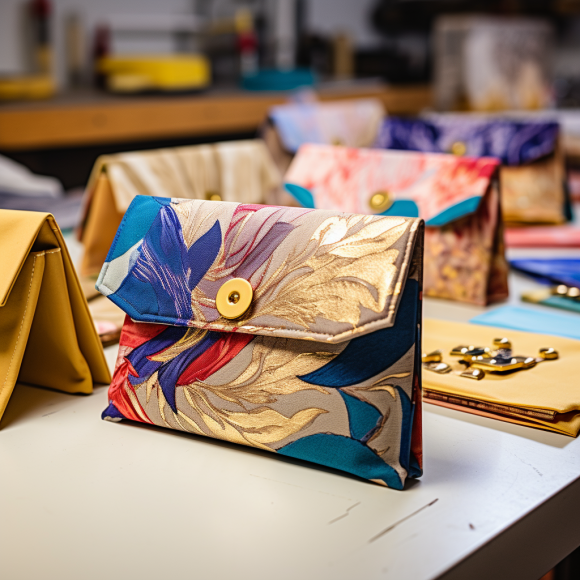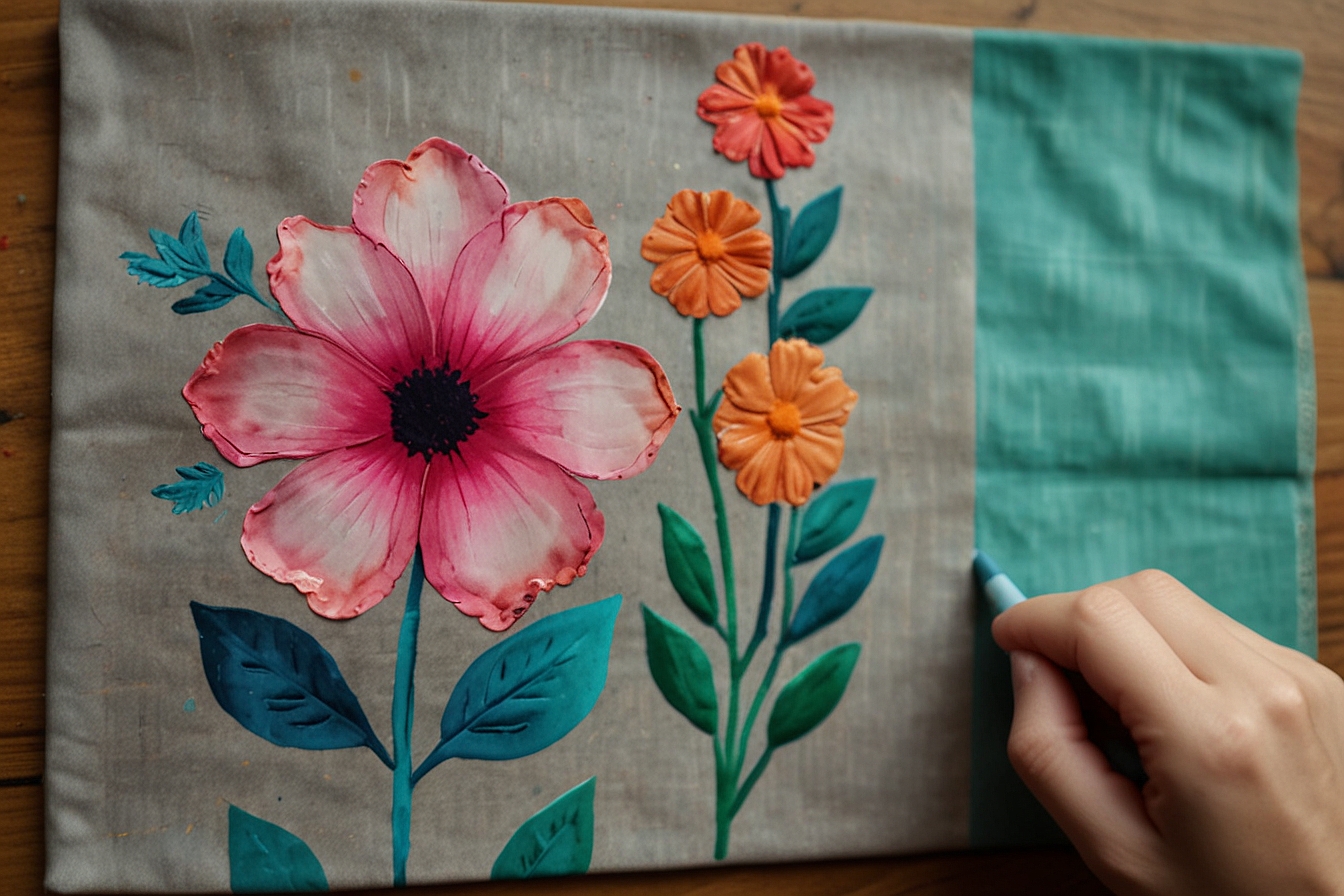
Creating your own bags and wallets allows you to showcase your creativity and personalize your accessories to match your style. With a variety of fabrics at your disposal, you can make unique pieces that are both functional and fashionable. In this guide, we will explore step-by-step instructions for making bags and wallets using different fabrics, enabling you to design and sew your own personalized accessories.
1. Tote Bag
Materials:
- Fabric for the outer bag (canvas, cotton, denim)
- Fabric for the lining
- Interfacing (optional for added structure)
- Webbing or fabric for straps
- Magnetic snap or zipper (optional for closure)
- Sewing machine, thread, scissors, pins, and iron
Instructions:
- Cut two rectangular pieces of fabric for the outer bag, ensuring they are the desired size for your tote.
- Cut two matching pieces of fabric for the lining, as well as interfacing if using.
- Place the outer bag pieces right sides together and sew along the sides and bottom, leaving the top open.
- Repeat step 3 for the lining pieces, but leave a small opening for turning.
- If using interfacing, attach it to the wrong side of the outer bag.
- Box the corners by pinching the bottom corners of the outer bag and sewing across, approximately 1-2 inches from the point.
- Repeat step 6 for the lining corners.
- Turn the outer bag right side out and slip it into the lining, aligning the top edges.
- Sew along the top edge, securing the outer bag and lining together.
- If using a closure, attach it according to the manufacturer’s instructions.
- Attach the straps to the bag, ensuring they are securely sewn.
- Turn the bag right side out through the opening in the lining.
- Stitch the opening closed, and your tote bag is complete.
2. Clutch Wallet
Materials:
- Fabric for the outer wallet
- Fabric for the lining
- Interfacing (optional for added structure)
- Closure options (snap, button, zipper)
- Sewing machine, thread, scissors, pins, and iron
Instructions:
- Cut two rectangular pieces of fabric for the outer wallet, ensuring they are the desired size for your clutch.
- Cut two matching pieces of fabric for the lining, as well as interfacing if using.
- If using interfacing, attach it to the wrong side of one outer fabric piece.
- Place the outer fabric pieces right sides together and sew along the sides and bottom, leaving the top open.
- Repeat step 4 for the lining pieces, but leave a small opening for turning.
- Box the corners by pinching the bottom corners of the outer fabric and sewing across, approximately 1-2 inches from the point.
- Repeat step 6 for the lining corners.
- Turn the outer fabric right side out and slip it into the lining, aligning the top edges.
- Sew along the top edge, securing the outer fabric and lining together.
- If using a closure, attach it according to the manufacturer’s instructions.
- Turn the wallet right side out through the opening in the lining.
- Stitch the opening closed, and your clutch wallet is complete.
3. Zippered Pouch
Materials:
- Fabric for the outer pouch
- Fabric for the lining
- Zipper
- Sewing machine, thread, scissors, pins, and iron
Instructions:
- Cut two rectangular pieces of fabric for the outer pouch, ensuring they are the desired size for your pouch.
- Cut two matching pieces of fabric for the lining.
- Place one outer fabric piece right side up and align one edge of the zipper along the top edge.
- Place one lining piece right side down on top of the zipper, aligning the edges.
- Pin the layers together and sew along the zipper edge, using a zipper foot.
- Repeat steps 3-5 for the other side of the zipper, attaching the remaining outer fabric and lining pieces.
- Press the fabric away from the zipper and topstitch along the edge.
- Open the zipper halfway.
- Fold the pouch in half, right sides together, aligning the outer fabric and lining edges.
- Sew along the sides and bottom, leaving a small opening in the lining for turning.
- Box the corners by pinching the bottom corners and sewing across, approximately 1-2 inches from the point.
- Turn the pouch right side out through the opening in the lining.
- Stitch the opening closed, and your zippered pouch is complete.
Conclusion
By following these instructions and using a variety of fabrics, you can create your own unique bags and wallets that suit your style and needs. Whether it’s a versatile tote bag, a stylish clutch wallet, or a practical zippered pouch, these accessories will showcase your creativity and sewing skills. Enjoy the process of choosing fabrics, experimenting with designs, and sewing personalized accessories that make wonderful gifts or additions to your own collection.


